Placing a model: Manual Placement
-
When you have loaded the required model (see Loading a Model), tap
 /
/  Place Model /
  Manual to start the Manual Placement process.
 -
Navigate the plan view of your model to get the approximate location and correct orientation for the model placement.
-
Adjust the position of the model:
-
Drag two fingers on the screen to make large adjustments, and one finger to make small, fine adjustments to the model placement
-
Use the adjustment tools on the right of the screen to align the model correctly with the real world:
 Vertical
 Horizontal
 Rotate
 -
View the model from a number of different perspectives / angles while making small adjustments to fine-tune the model's placement.
NOTE – When there is a horizontal plane within 50 cm (20 in) of the ground, a yellow icon
 is visible. Tapping this icon will align the horizontal plane in the model to the ground in the real world; the icon changes to green
 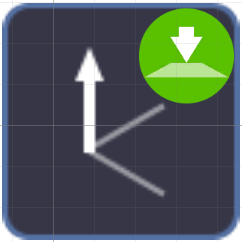 .
.
-
-
When the model is correctly placed, tap Finish.
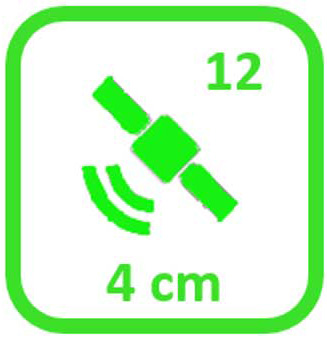
When you have manually placed a model, ![]() GNSS Status and
GNSS Status and ![]() Orientation Status icons are hidden from the top right of the screen. Instead—if your device is connected to the antenna—
Orientation Status icons are hidden from the top right of the screen. Instead—if your device is connected to the antenna—![]() icon shows, indicating that you have performed a manual placement.
icon shows, indicating that you have performed a manual placement.
Canceling a Manual Placement
To cancel the Manual Placement
-
Tap-hold
in the top -
SiteVision prompts Do you want to remove your Manual Placement?". Tap Continue to cancel the Manual Placement.
 GNSS Status and
  Orientation Status icons redisplay. Their color (red, yellow, or green) will depend on their status. See Working with GNSS and Orientation Status for more information.
TIP – If you have already performed a Marker-based placement, you can use the Manual Placement workflow to access the fine-tune adjustment controls. This is helpful if you have moved away from your Markers and have experienced some drift.