Using custom Geoid models
Custom geoid models are typically created by making a subset of a published geoid model. SiteVision supports custom geoid models in the .ggf format.
To use a custom model:
-
Create the custom model.
-
Place the custom model in the Geodata folder on your device's internal storage, with an extension of .ggf
NOTE – The Geodata folder can be found:
-
on Android devices, at \Internal shared storage\Android\data\com.trimble.sitevisionAR\files\Geodata; you may need to connect your device to a computer to browse to this location.
-
on iOS devices, in the Files app under Trimble SiteVision\Geodata.
-
-
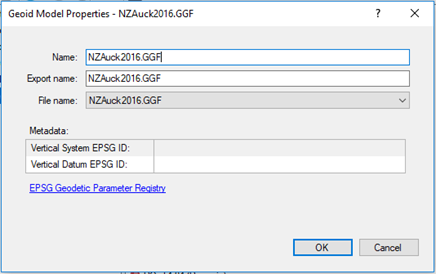
Using Trimble Business Center, create a project using the custom geoid model. When creating the custom geoid definition in Coordinate System Manager, ensure the Name of the geoid model matches the File name.
-
From the project, do one of the following:
-
export your model using the SiteVisionAR export option.
-
export a JXL file and name it with the same name as your model. Place it in the project folder in Trimble Connect alongside the model that uses the custom model.
-