

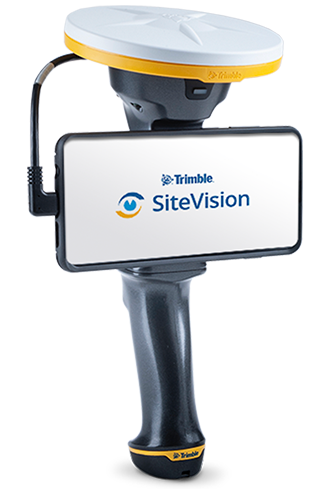
Sharing your screen with Trimble SiteVision
This articles explore 3 different options for mirroring your screen while working with Trimble SiteVision: a) Google Chromecast, b) ApowerMirror and c) TeamViewer.
Trimble SiteVision is a tool that allows collaboration between the field and the office and offers an easy way to share information with the ToDo function, which allows the user to capture a 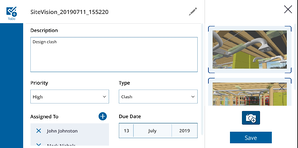 georeferenced and time-stamped image while adding a description of what is seen and send an attached email to the appropriate people. However, there might be occasions that you may want to share your SiteVision screen live with other users. A few examples of applications for this include:
- When there is a large group reviewing an issue on site
- To share what you are seeing on-site with someone in the site office
- To share what you are seeing with a design team or other stakeholders at a different location
Depending on what you want to do and what devices you want to share with there is a range of tools/apps to enable sharing.
In this article, we look at three options, Google’s Chromecast, a third-party application called ApowerMirror from Apowersoft, and TeamViewer. Below is a tabularized summary of these three options:
| Google Chromecast | ApowerMirror | TeamViewer | |
| Shares with: | Android, iOS and Windows devices | Android, iOS and Windows devices | Android, iOS and Windows devices |
| Works between: | Devices on the same WiFi network | Devices on the same network | Devices on the internet |
| License | No license, but need to buy the dongle | License required for commercial use | License required for commercial use |
| Ease of use | Simple to set up (easy to follow on-screen guidelines) and use | Very simple to use | More complex to set up, but connects anywhere to the internet |
Google Chromecast
 Chromecast is a Google product. It is a small dongle that is connected via HDMI to a television and provides the ability to connect with a phone (or tablet). This device comes in two different versions: Chromecast which is cheaper (at the time of this article’s writing, price list $35) and Google Chromecast Ultra which allows streaming of up to 4K Ultra HD and HDR (price list $69).
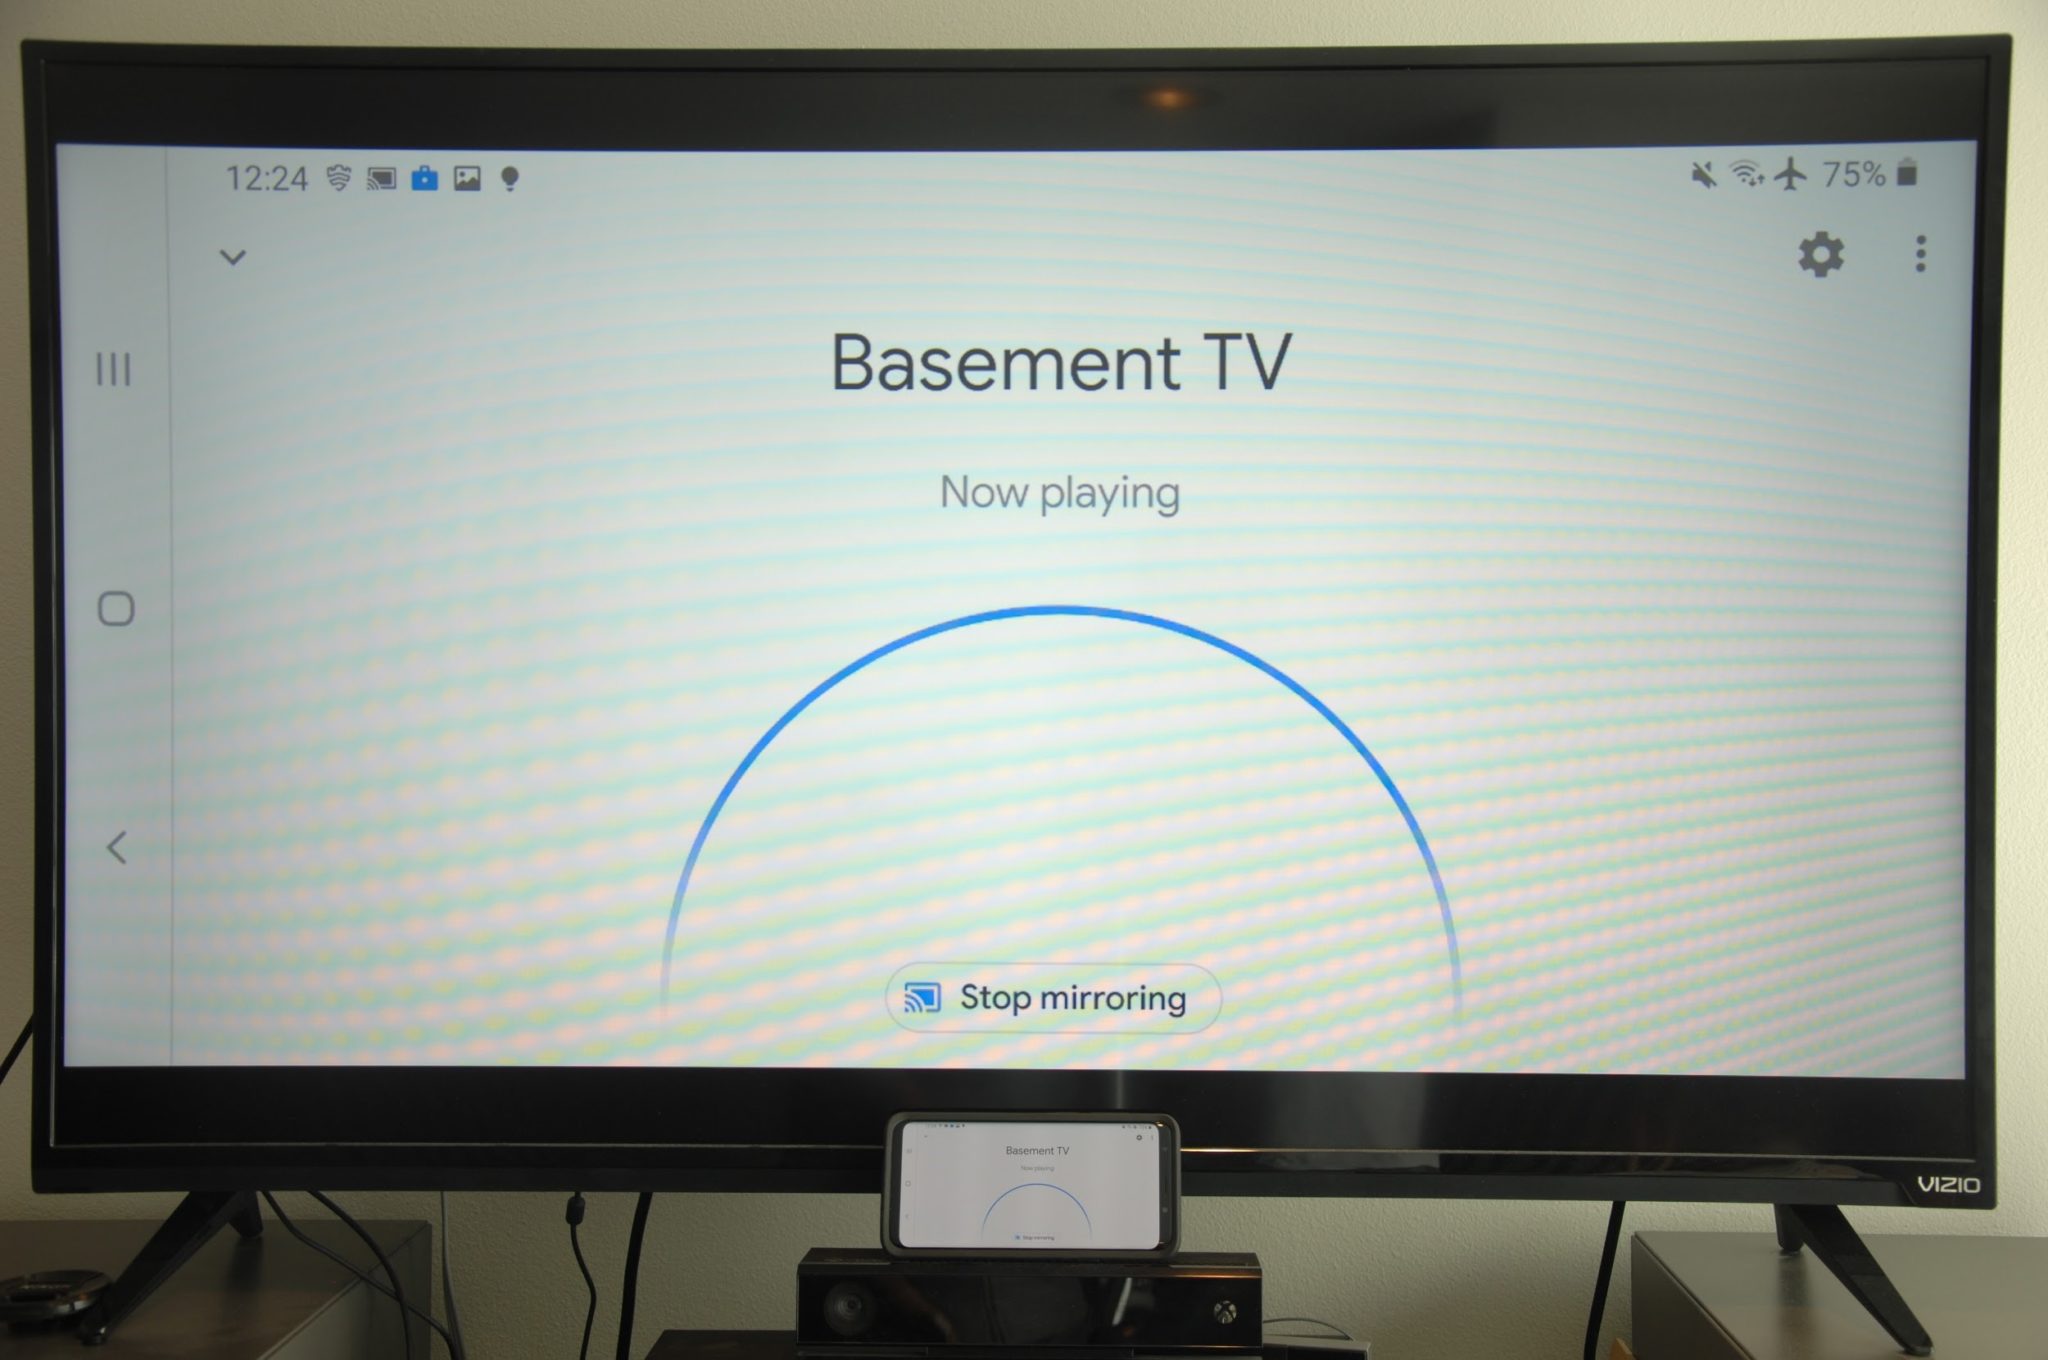
Setting up Google Chromecast is easy. First, you connect the dongle to the TV and also to a power supply. Then, you download the Google Home app on your phone. Follow the on-screen guidelines to set up a “home” and then set up a device. The aforementioned device refers to television. Once the device is detected a code, which is a combination of letters and numbers, is shown on the TV screen. At the same time, the phone screen is asking whether you see this code on the TV. Press Yes to continue. Then you will need to choose your WiFi network, connect, choose a location of where the TV is located within the “home” and the device is set. When you want to mirror your phone to the TV you go to the Google Home app in your phone, select the TV that you want to mirror to and you will be able to see in the TV what you see in the phone.
TIP: Take WiFi connection type into consideration. In our personal experience, we ran into a few issues while initially trying to connect to the Chromecast device ( in our case, Chromecast 3rd generation) and set it up. There were two different WiFi connections in the building: a 2.4 GHz and a 5.0GHz one. We initially tried to set up the device while being connected to the 2.4GHz connection in the phone and weren’t able to set up the device. However, once we switched to the 5.0GHz connection, everything worked smoothly. So, for setting up Chromecast, WiFi frequency plays a huge factor.
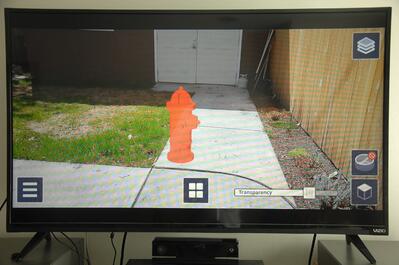
Our experience using Chromecast while using SiteVision has been very positive. Everything seen and performed via the SiteVision app can be mirrored without any issues to the connected TV.
Tip “How to show taps”: if you would like to see in the TV what the user is tapping on in the phone device then you need to activate the “Phone Taps” option in your phone. To do so:
- Go to Setting in your phone
- Scroll to the bottom of the menu and select “About phone”
- Select “Software information”
- Tap on “Build number” for 5-7 times
- Go back to the main menu
- Scroll at the bottom and you will see a new tab called “Developer options”
- Scroll to the action “Input” and activate “Show Taps”
Now, every time you choose something on the screen, a small white bubble is shown, which is very helpful when people watch the TV screen in order to understand what is selected in the SiteVision app when mirrored.
ApowerMirror
This is a simple and straightforward way to share your screen with a computer, tablet, or other mobile devices.
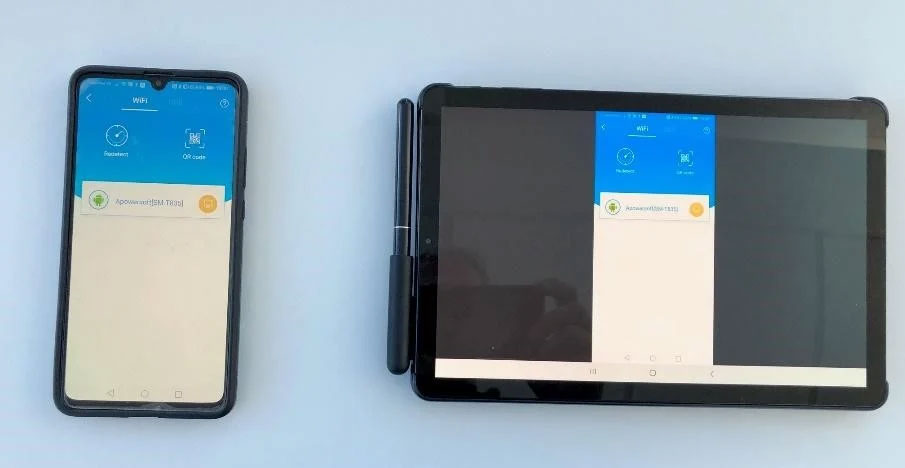
You need both devices on the same network so one easy way to do this is to turn on the mobile hotspot function in your SiteVision device. Then connect to the hotspot network with the tablet or computer you want to use. Start ApowerMirror at the tablet or computer, then start it on the SiteVision mobile device and select the tablet or computer to mirror onto. Then start SiteVision and everything you do is mirrored to the tablet.Our experience is that ApowerMirror works reliably with SiteVision when mirroring to one other device, but is less reliable mirroring to multiple devices. Based on our testing, we would not recommend mirroring to multiple devices when using the SiteVision application.
Note that ApowerMirror is available for iOS devices so you can mirror from SiteVision to an iPhone, iPad or Apple computer if desired. FREE RESOURCE: Getting started with Apower Mirror, a step-by-step guide.
TeamViewer
 TeamViewer is a product that provides full remote access to a mobile device, over the internet. This means that you can share what you are seeing in the field with anyone in an office anywhere in the world, that has internet connectivity. TeamViewer is a product that can be downloaded to:
- a mobile device (smartphone or tablet)
- a computer
- be used through a web browser
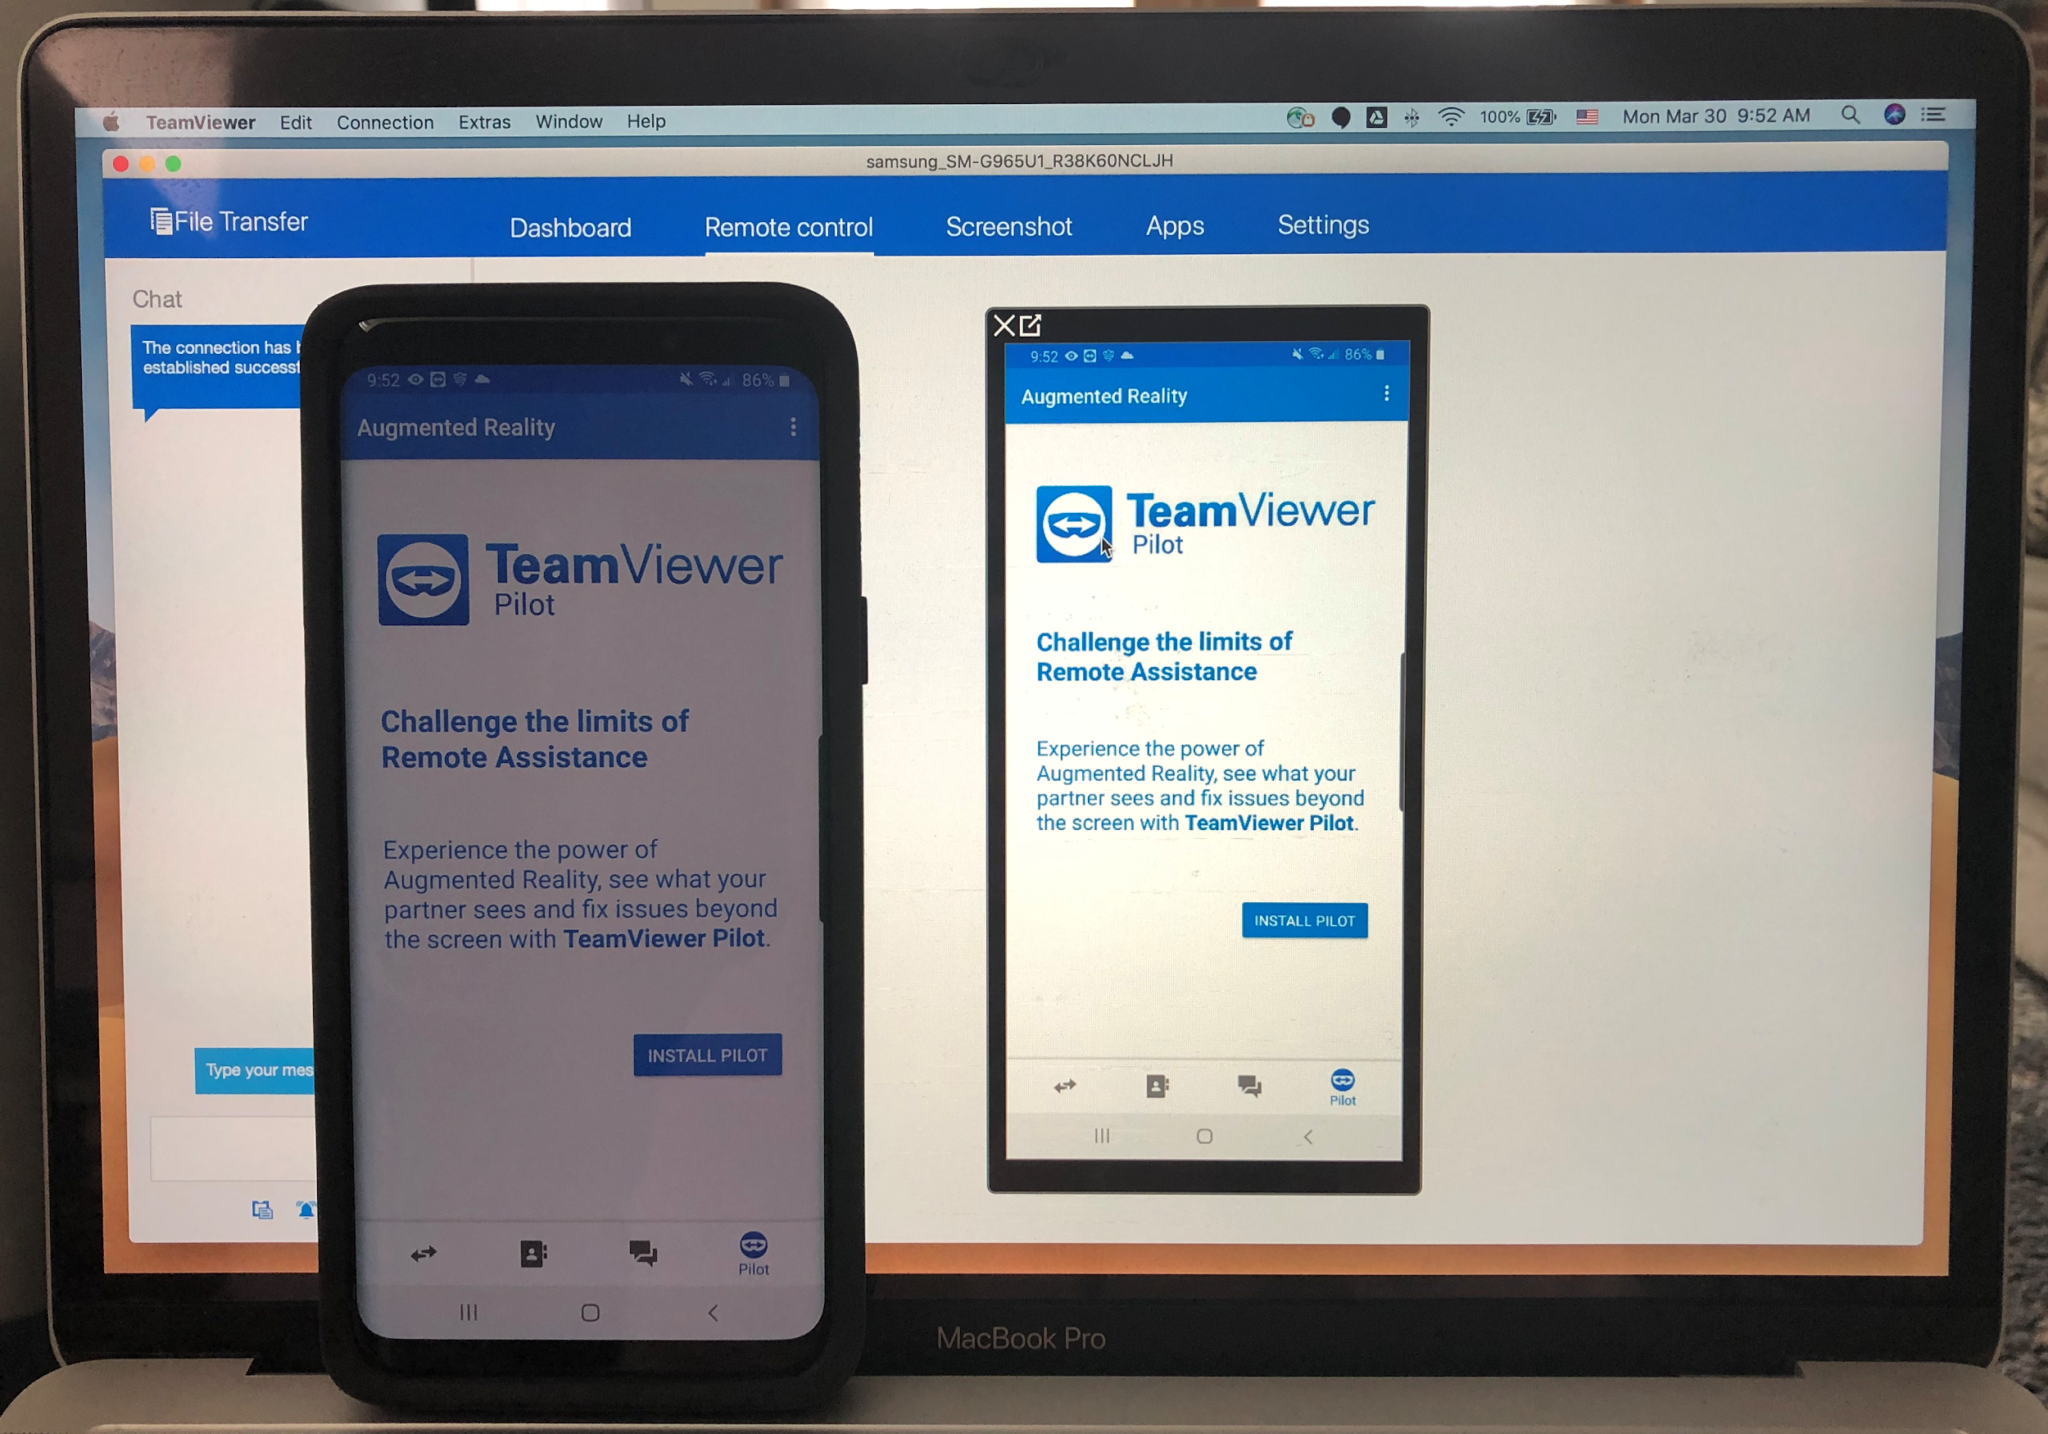
Given that the data may be going out over the internet, rather than within a company or private intranet, TeamViewer requires additional security in the form of a partner ID that is shared to establish the connection. In order to share the mobile phone’s screen with another device follow the steps below:
- Open TeamViewer in the mobile device > select “open quicksupport” > share the ID with the office.
- Open TeamViewer in the computer (or tablet) > select “remote control” > enter the shared ID at the “Partner ID” field in the Control Remote Computer window.
- A pop-up will show on the mobile device asking to allow remote support > select “allow”
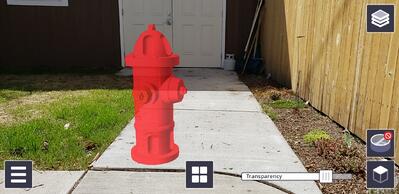
field the engineer, designers and contractors can walk through details at true-life scale and review the constructability of the design.
Now, connection is established and the office has visibility of the mobile device’s screen.
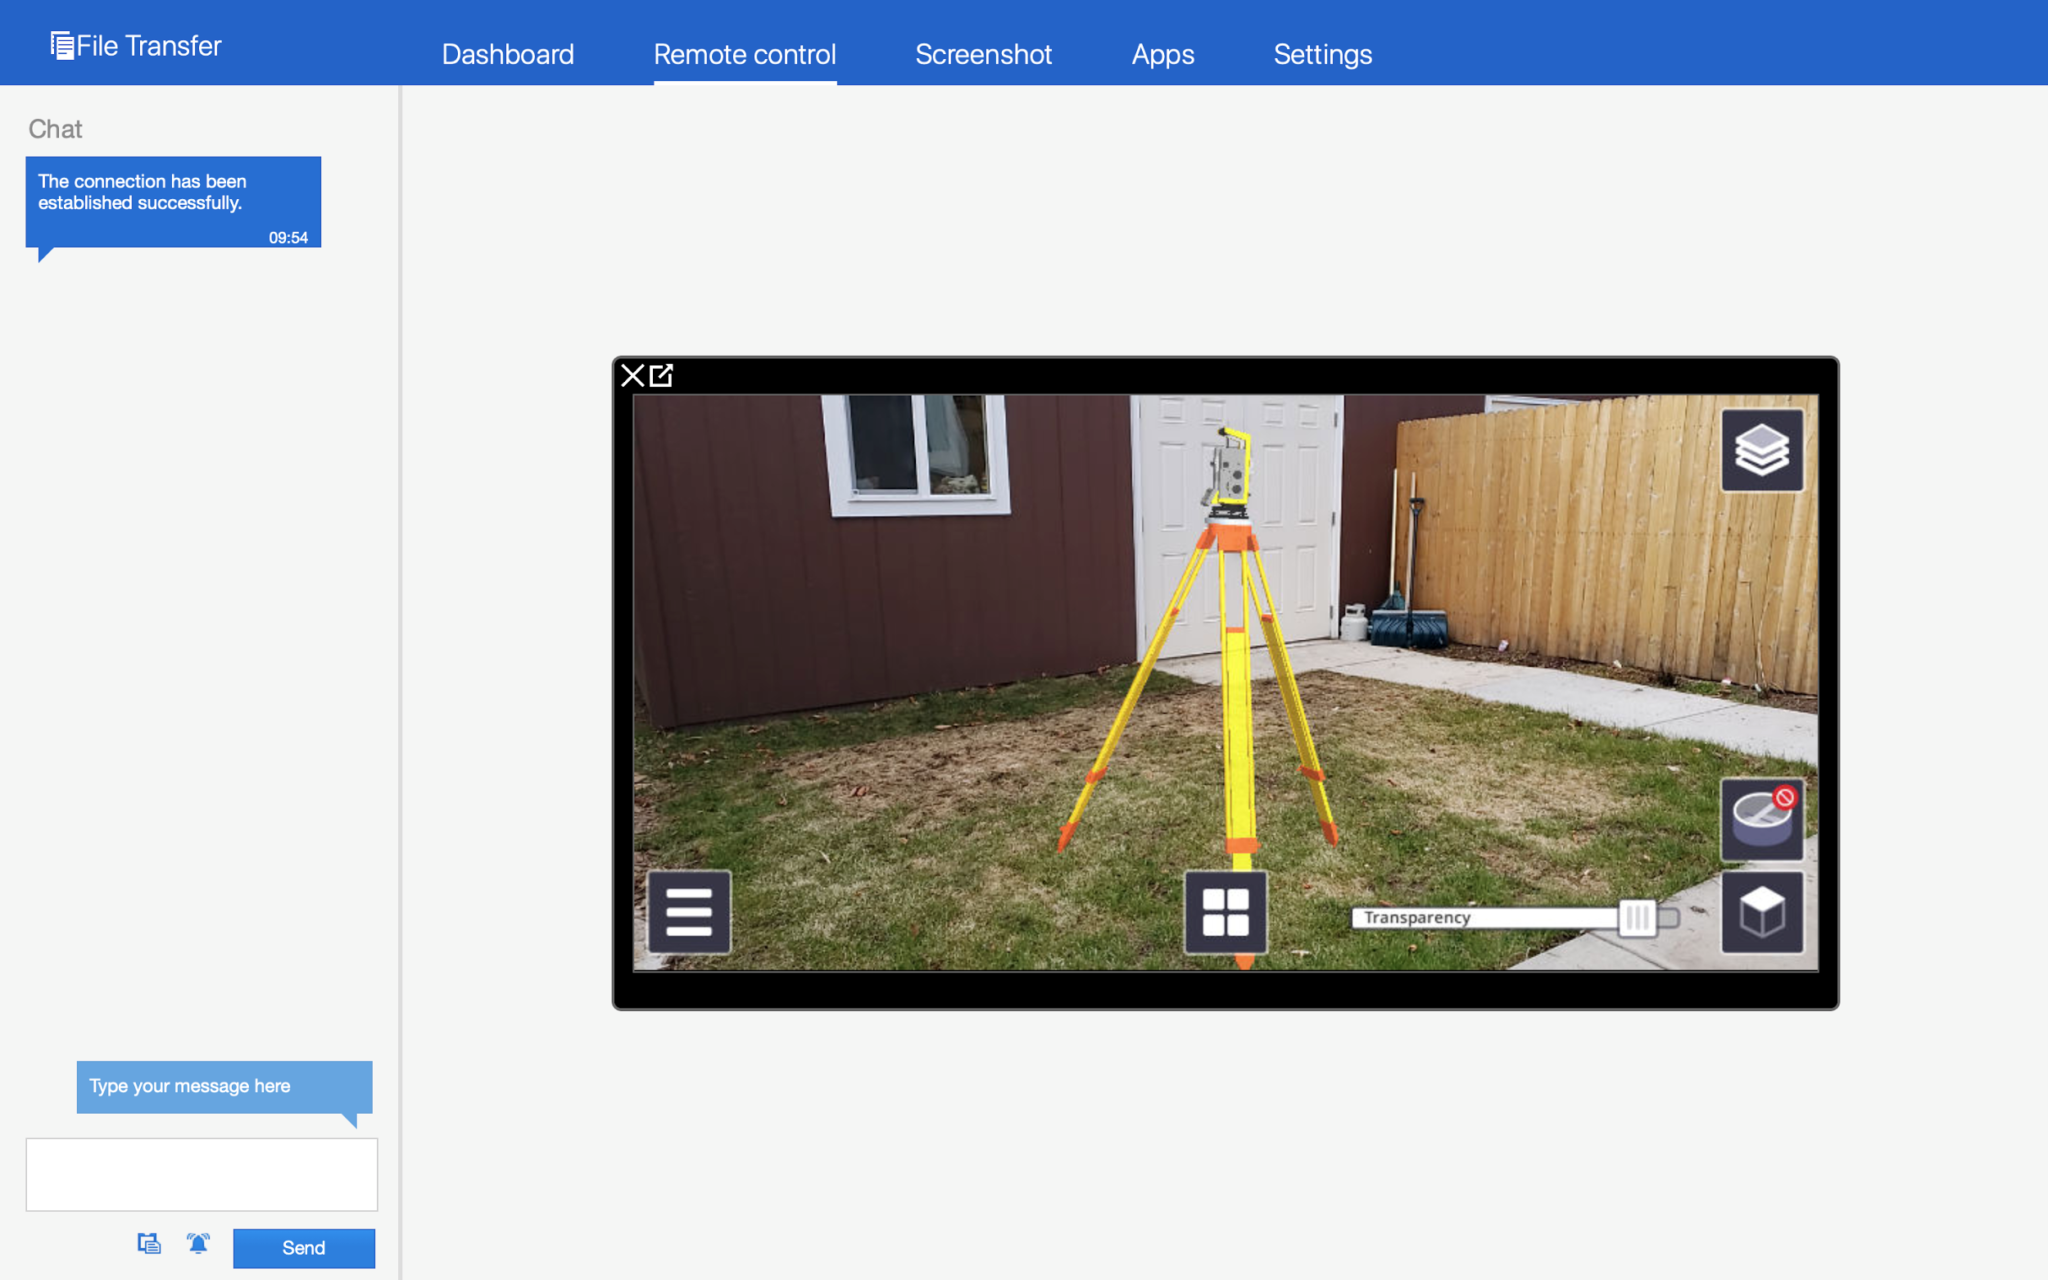
When running TeamViewer and QuickSupport together the SiteVision application can be controlled by either the user in the field or by the office staff. The field user has their full normal functionality available. Based on our experience to date, the office staff has some limitations on what they can do because the multi-touch functions are not available from the remote end. Multi-touch functions are used for things like zooming in the 2D view and faster vertical adjustment in manual placement. Press and hold functions, for example for turning on Pitview options, also do not work over the remote link. All these functions still can be undertaken by the user in the field and seen by the stakeholders in the office.
Depending on the purpose for sharing your screen each aforementioned way of doing so has its benefits and limitations. To illustrate this here are a few scenarios that highlight the use of each:
- If your screen needs to be shared with stakeholders in the field during a collaboration session then one would use APowerMirror due to its ease of use
- If you want to share with stakeholders in the office, then TeamViewer is the only choice that supports mirroring over the internet.
- Finally, if screen mirroring is necessary for demonstrating how SiteVision works within a closed environment any of the three can be used.
Augmented reality has the power to provide thorough contextual information through the eyes of someone else. So beyond communication, screen sharing via SiteVision has the potential and power to transform your 3D data, creating a truly compelling and profitable experience and unlocking the hurdle of trying to picture a project in real life.
In Summary
- There is no limitation in connecting the field with the office. SiteVision can help you unite the two areas while sharing your field actions in real-time with using one of the aforementioned suggested ways of screen mirroring.
- Google Chromecast and ApowerMirror require that both the mobile device used for SiteVision and the screen to mirror it are connected in the same WiFi network, while TeamViewer just needs an internet connection.
- All SiteVision functionalities are visible with the suggested ways of mirroring. Use the Tip of “How to show taps” to make sure the mirrored screen has visibility of what is selected at any given point within the SiteVision application.
Want to learn more about SiteVision, click here >
DOWNLOADABLE RESOURCES:
Screen Recording with Mobizen Directions
Screen Mirroring with Samsung Flow
Screen Mirroring with ApowerMirror
Screen Mirroring with TeamViewer
More Trimble SiteVision
Subscribe to the Trimble SiteVision blog so you'll be alerted with the latest posts.